Air Gauges Instruction Manual
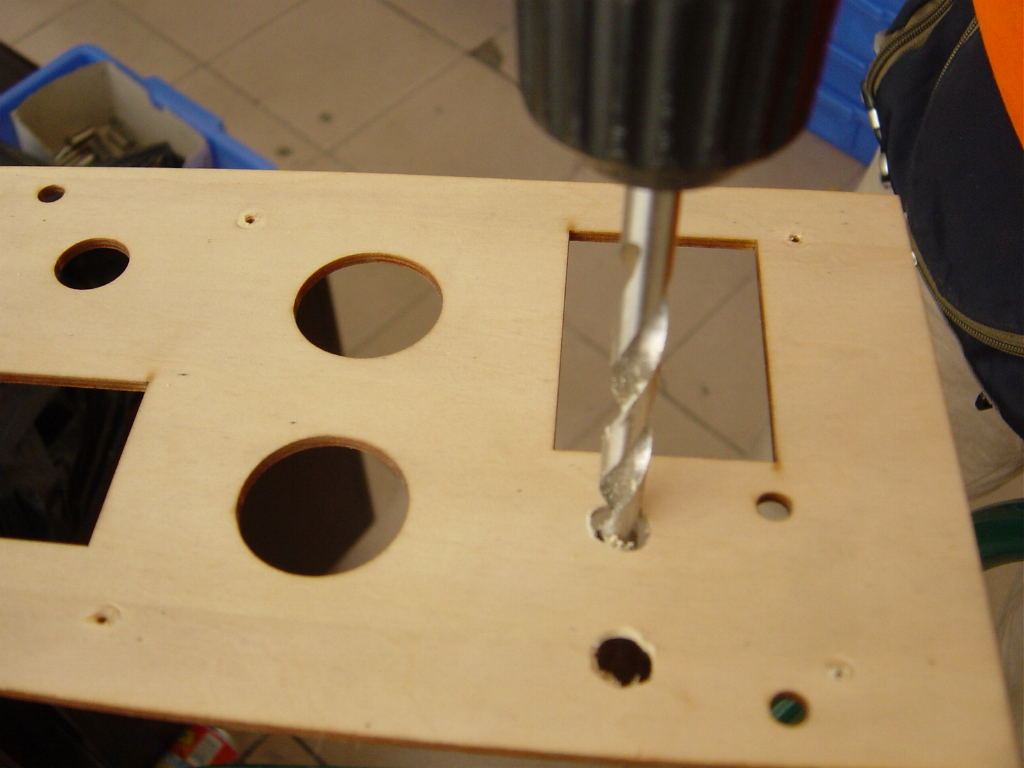
Step 1
Make two, 10mm holes to install the air Gauges
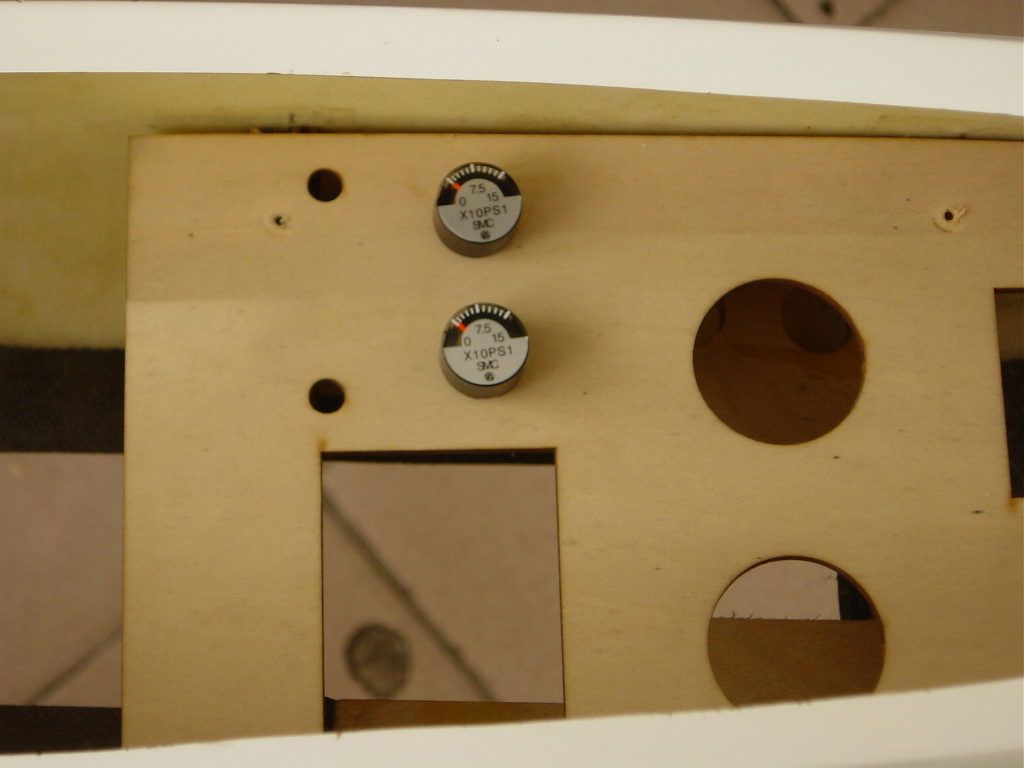
Step 2
This is the front view of the Gauge. You can put it in any position you prefer.
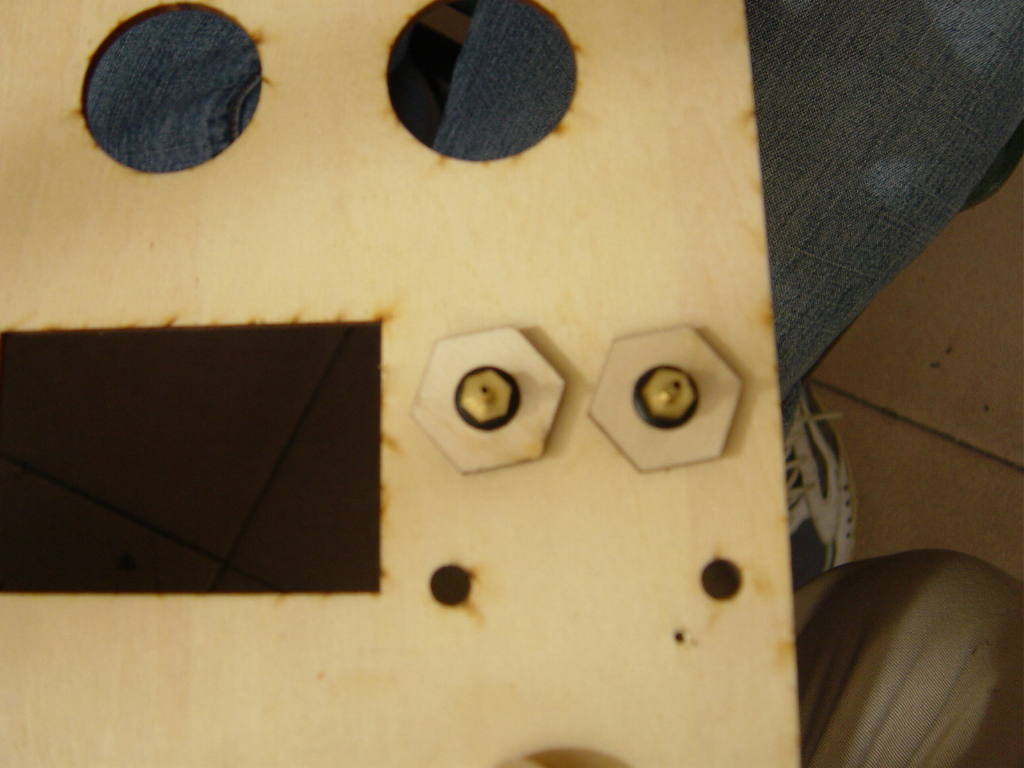
Step 3
Wood
Screws are installed on the back of the gauge.
To secure the wood screws, you can add a drop of CA.
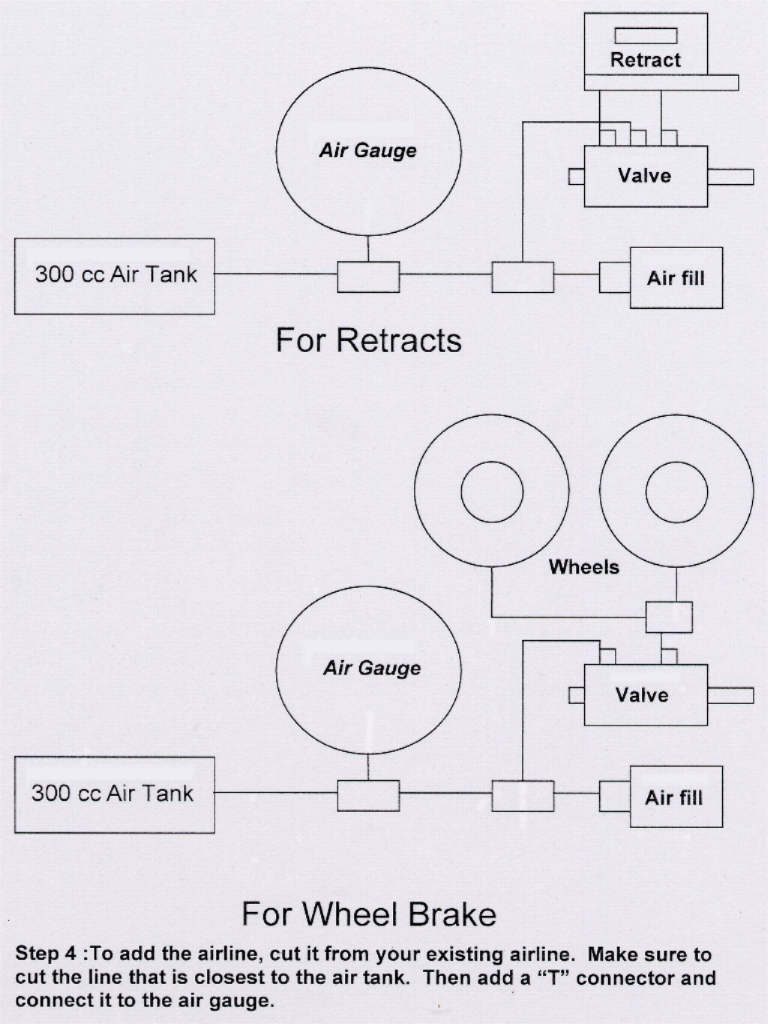
Step 4
To add the airline, cut it from your existing airline. Make sure to cut the line that is closest to the air tank. Then add a “T” connector and connect it to the air gauge.